installing Oracle Weblogic Server 12.1.2.
We can install WLS 12.1.2.0.0 in two modes :
- GUI mode
- Silent mode
Note :
- console mode has been removed .
- JDK is not bundled along with the installer, so install JDK first and then install Weblogic Server.12 c support JDK 1.7 and above
- If this is the first time you are installing Weblogic Server on your machine then an Oracle Inventory is created first and then WLS is installed. If Oracle Inventory is already present then the new installation details would be appended to this file.
- Oracle Inventory is similar to the registry.xml file that was used in the get older WLS versions. Oracle Central Inventory keeps track of all the Oracle Software products installed on all the Oracle homes on your system, provided the products were installed using Oralce Universal Installer.
Install JDK 1.7
Set the Path variable and JAVA_HOME
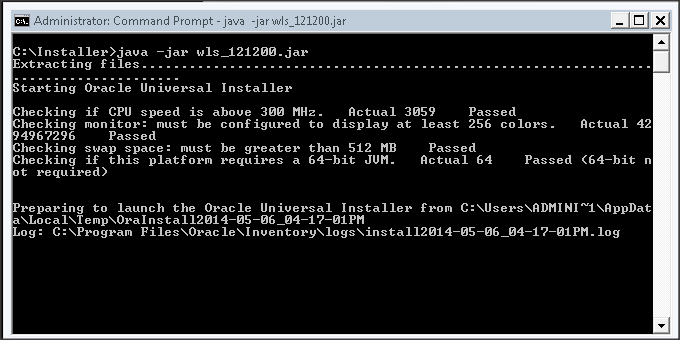
- Download the WLS installer " wls_121200.jar ".
- Run the following command :
Command : java -jar wls_121200.jar
It will check for a number of thing and if all the check are passed we will get the Installer
Set the Path variable and JAVA_HOME
- Download the WLS installer " wls_121200.jar ".
- Run the following command :
Command : java -jar wls_121200.jar
It will check for a number of thing and if all the check are passed we will get the Installer
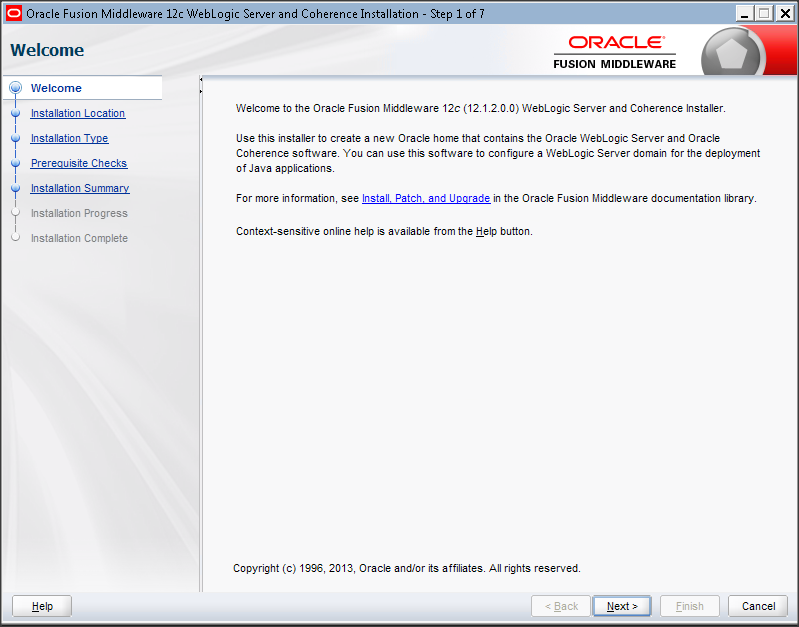
Welcome Screen is Displayed and we have to select "Next"
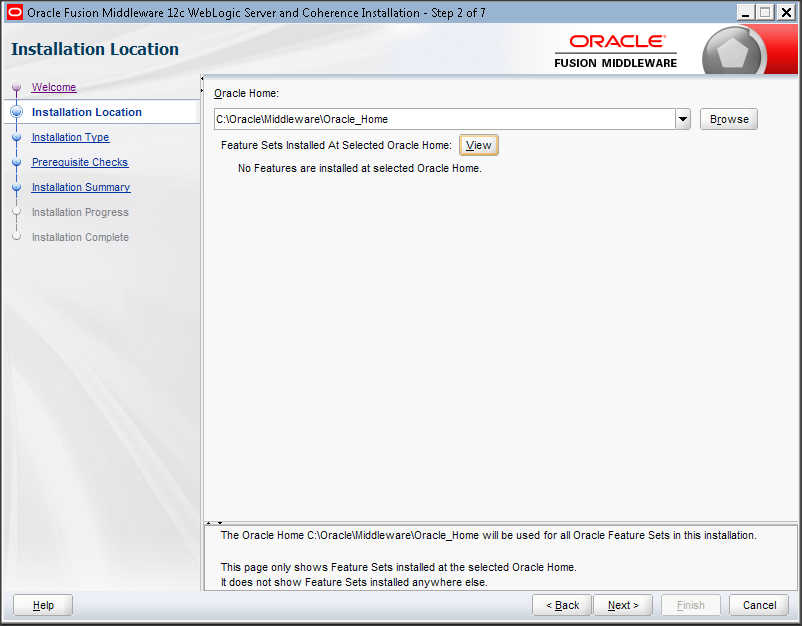
Provide the path for Oracle_home ,All the oracle product will be installed in this directory.
By Default it will be
C:\Oracle\Middleware\Oracle_Home
Click "Next"
By Default it will be
C:\Oracle\Middleware\Oracle_Home
Click "Next"
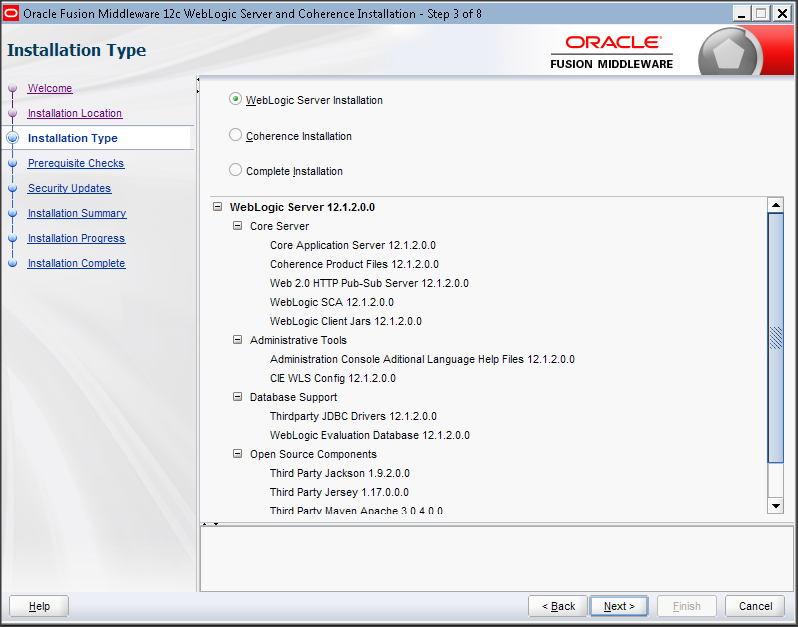
There are three types of Installations :
1. Weblogic Server Installation - For WebLogic Server and Coherence standard installation topology - no server examples
2. Coherence Installation - to deploy and manage Coherence applications using the WebLogic Management Framework. - no server examples
3. Complete Installation - WLS + Coherence + server examples.
I will selected the default option i.e Weblogic Server Installation.
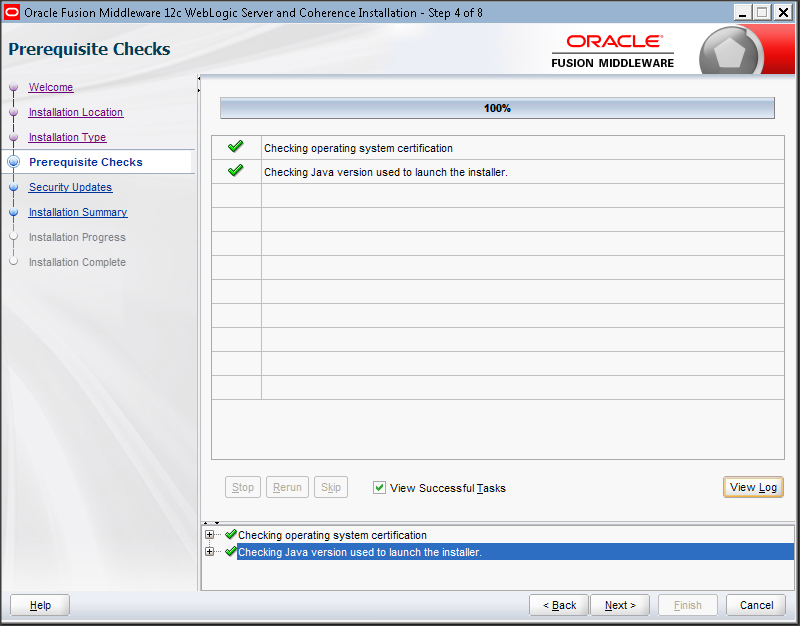
It will check all the Pre requisite and once it pass you can Press "Next"
You can view the logs of the test by pressing "View Log"
You can view the logs of the test by pressing "View Log"
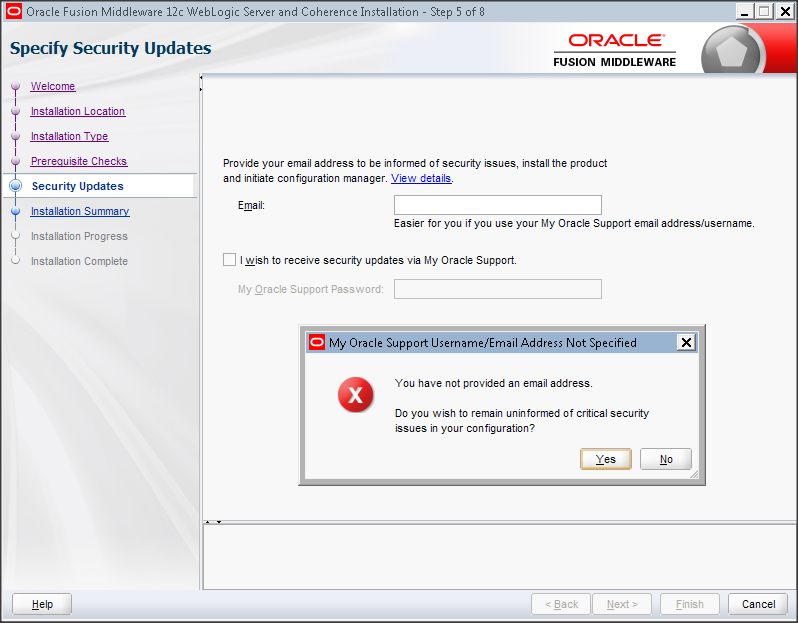
In this step it will ask for Security Updates from Oracle if you want to by pass this you can un check the check box and a new popup window will be displayed .Select "Yes"and Press "Next"

It is the summary page which will be displaying all the components which will be installed.
You can save the response file which can be used to install weblogic in silent mode.
Press "Install "
You can save the response file which can be used to install weblogic in silent mode.
Press "Install "
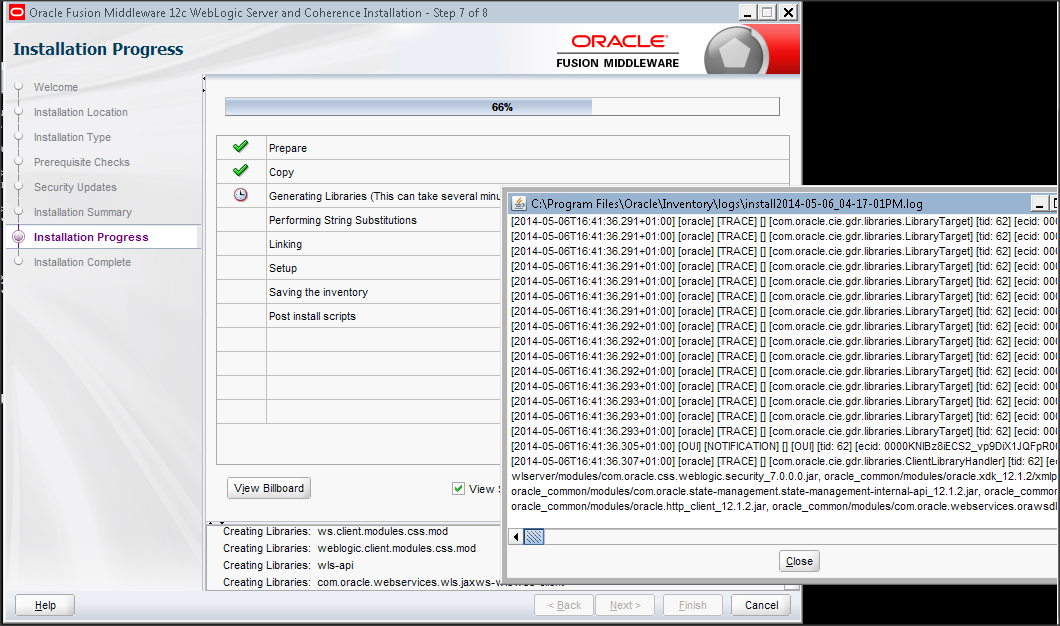
The installation will start and the libraries and the installation files will be copied .
You can view the Message and the Logs
You can view the Message and the Logs
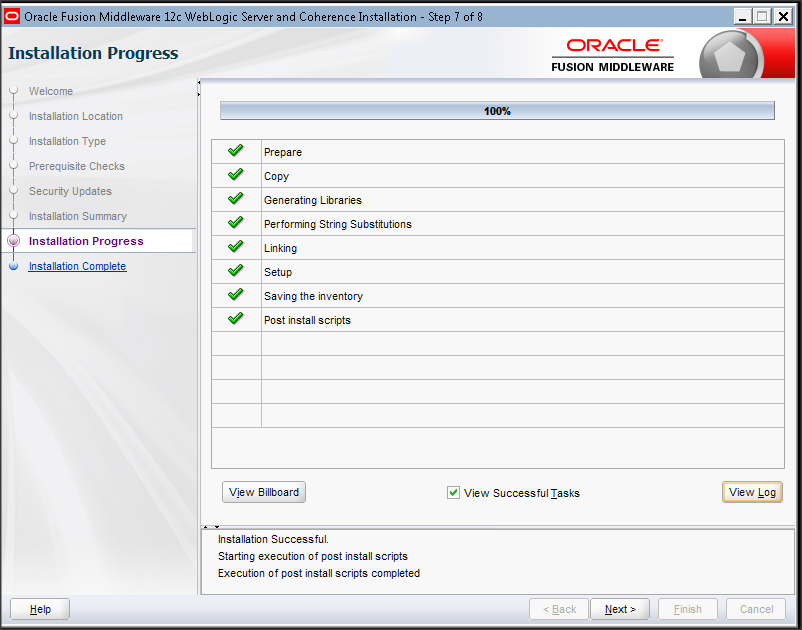
Once the Installation is complete
Press "Next"
Press "Next"

It is the Installation complete menu
click on Finish to finish the Installation of 12.1.2 (12c) Weblogic
Note:
If you click the check box for Automatically Launch The Configuration Wizard you will be directed to a popup where you can create a domain for your 12.1.2. Installation.
click on Finish to finish the Installation of 12.1.2 (12c) Weblogic
Note:
If you click the check box for Automatically Launch The Configuration Wizard you will be directed to a popup where you can create a domain for your 12.1.2. Installation.

